
This beautiful chess table is a Christmas present that I made for my son Max. He loves chess and it looks like he is actually quite good at it; using the internet to play chess with like minded people. But I think, seeing and feeling actual chess pieces enhances the experience, therefore that table. And as all my woodwork projects, this one too starts with a detailed sketch:

OK, maybe not that detailed...
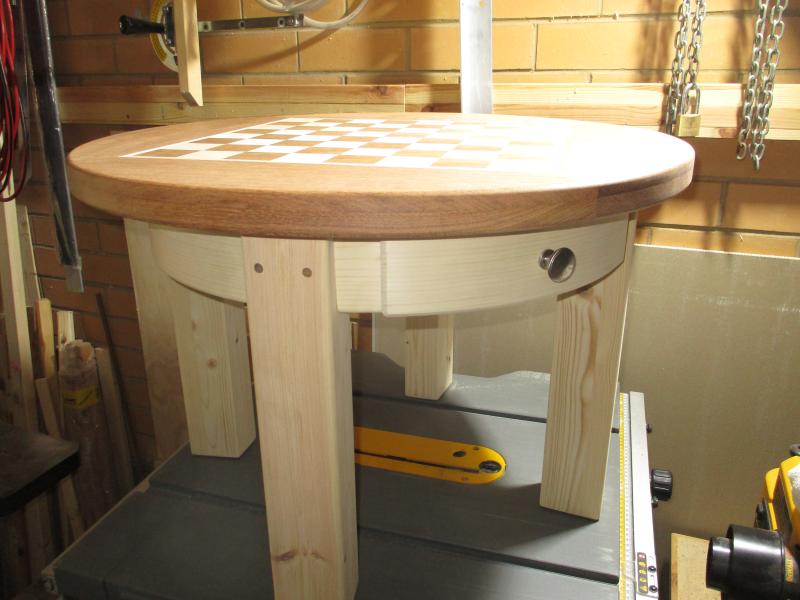
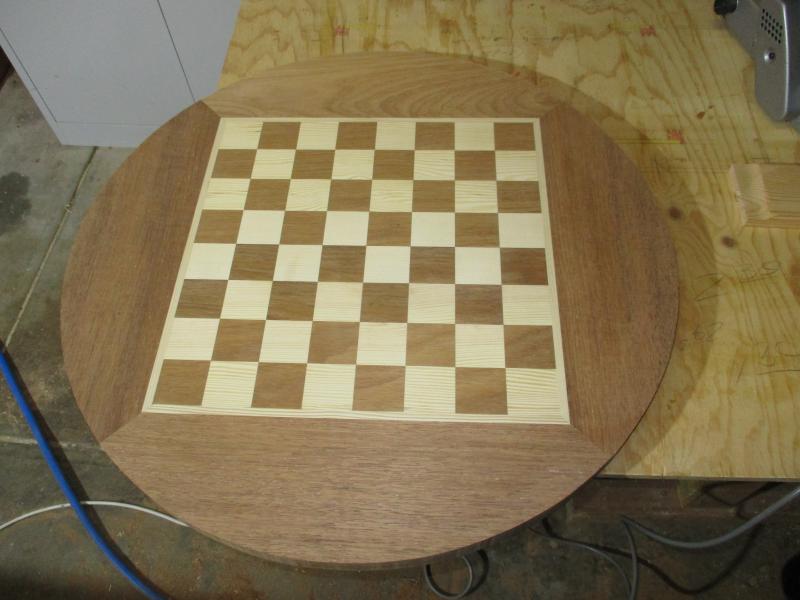
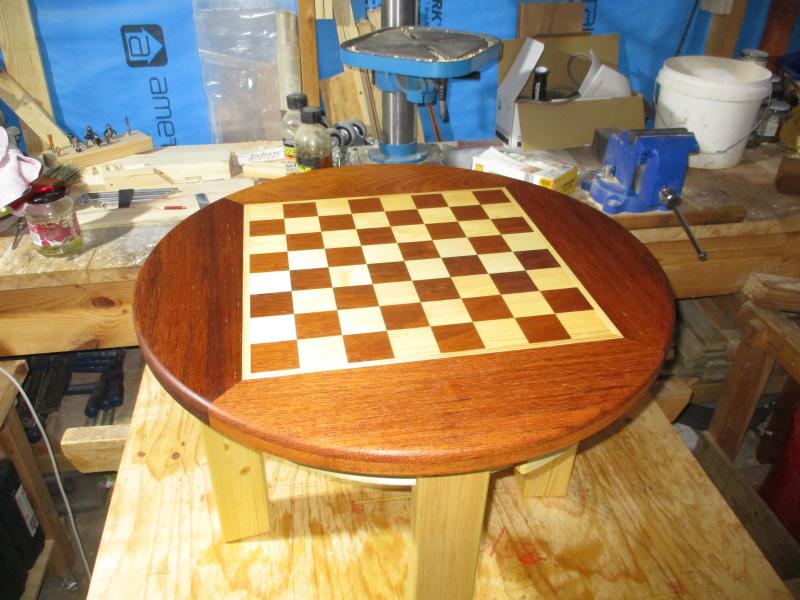
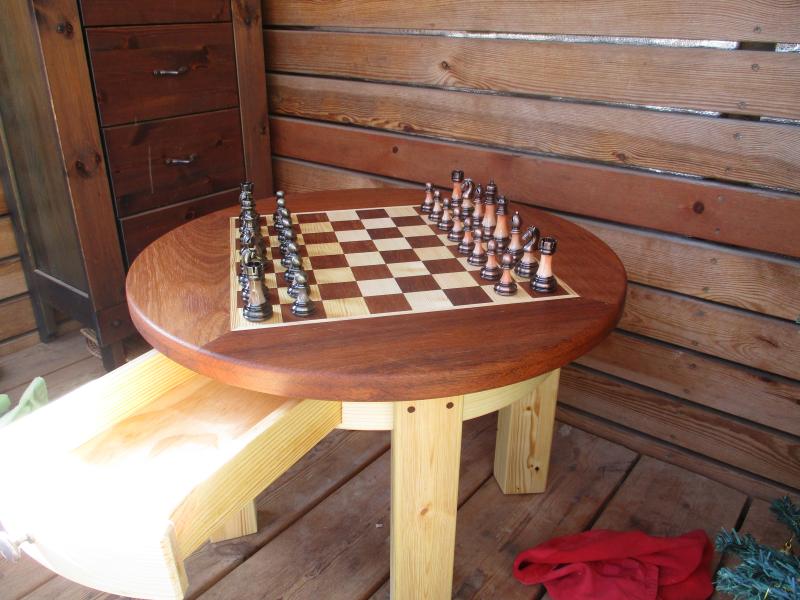
The finished table before treatment with boiled linseed oil
Of course there was a little bit more to it. I actually made a better drawing in scale 1:1 on a sheet of plywood. It shows the table frame from top. As the table top is round, the table frame needs to be round too. Here is how it's done:
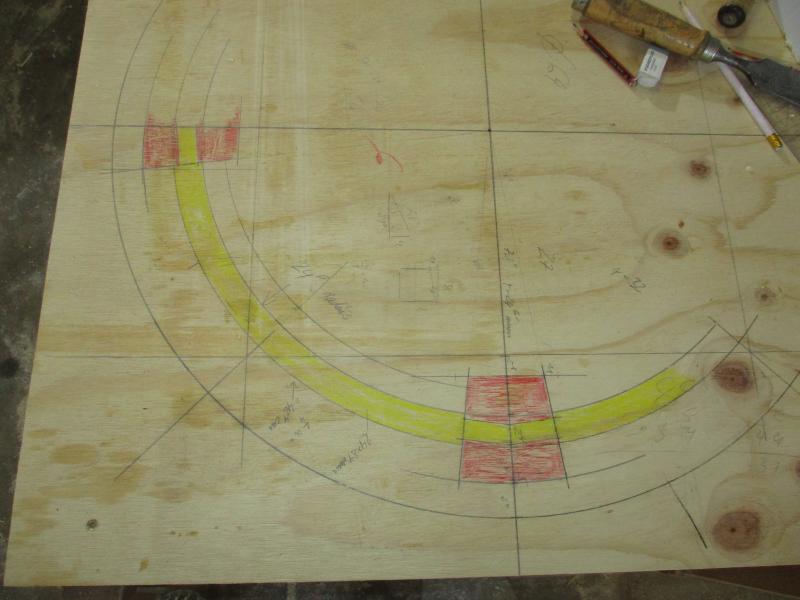
The drawing, showing a quarter of the table
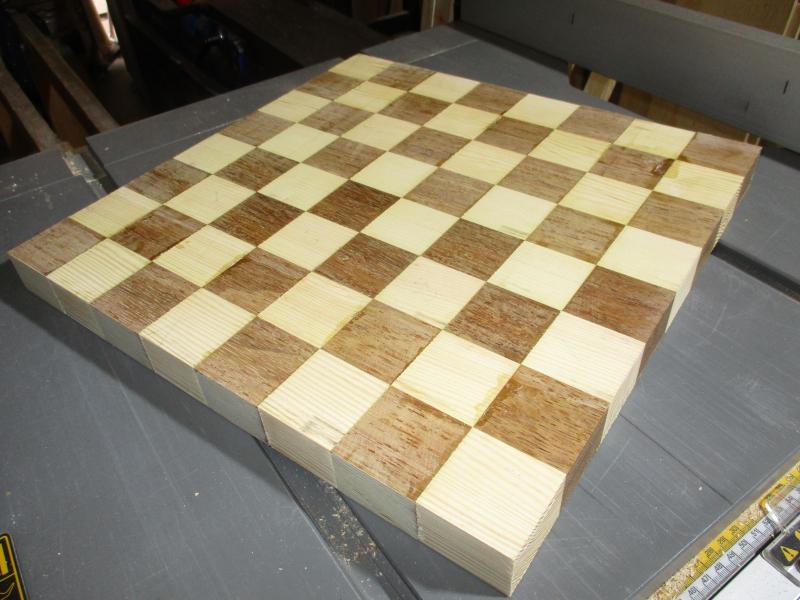
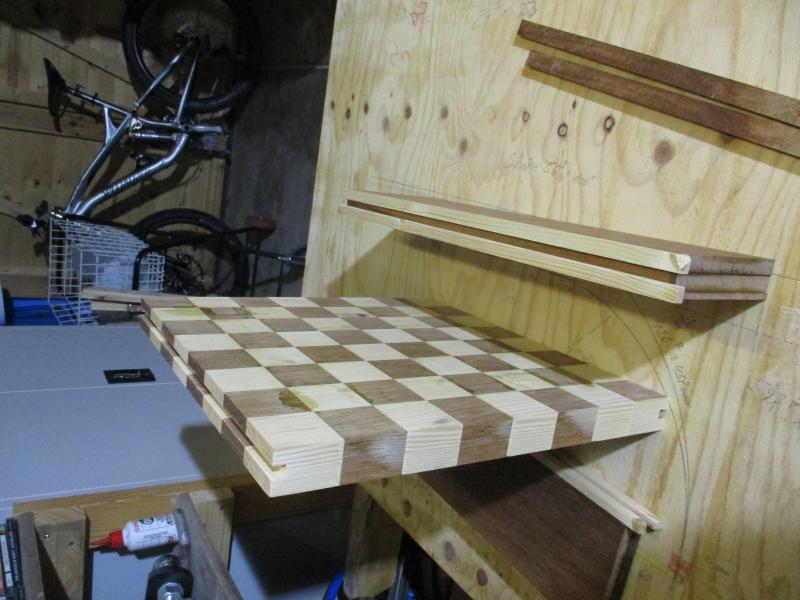
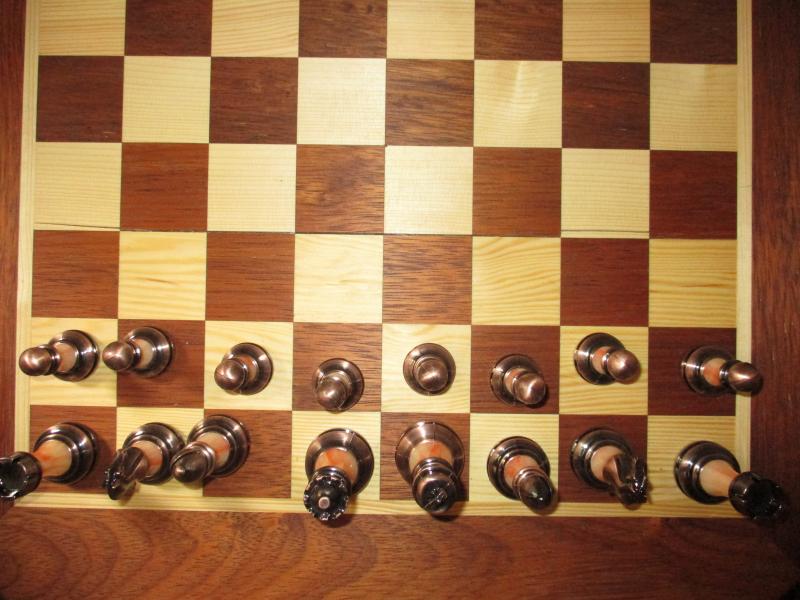
I started with the chess board. I used Baltic pine and Merbau for it. Unfortunately it was too humid in my workshop at the time, so I had to wait for the summer to come
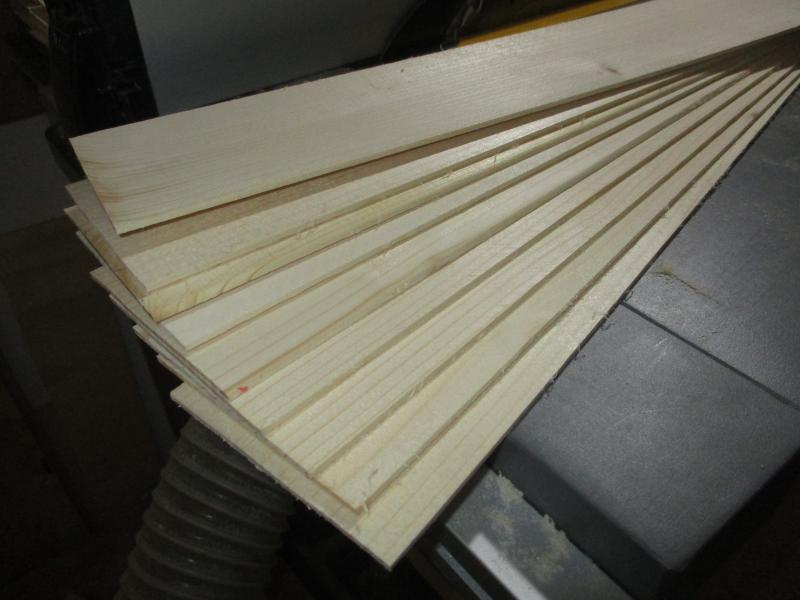
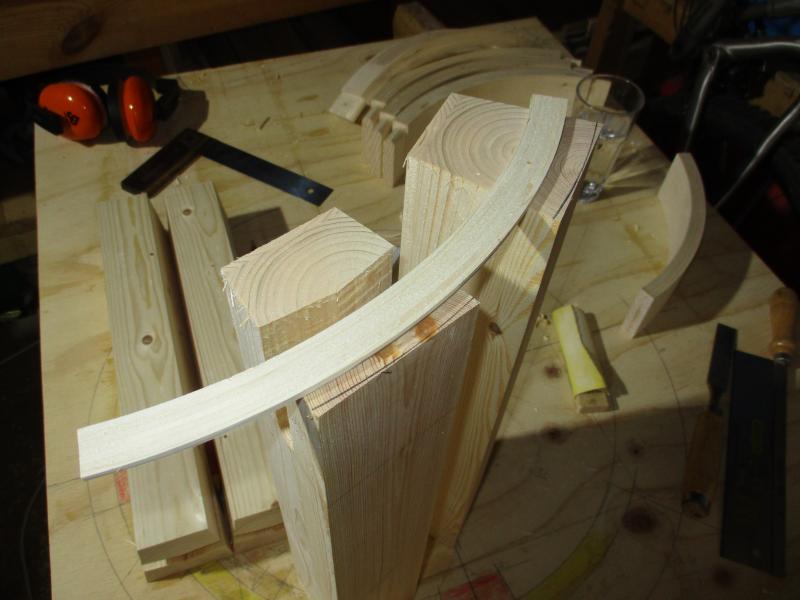
Proceeding with the table frame in the mean time; the table frame will be round, so I cut 2mm pine sheets for it
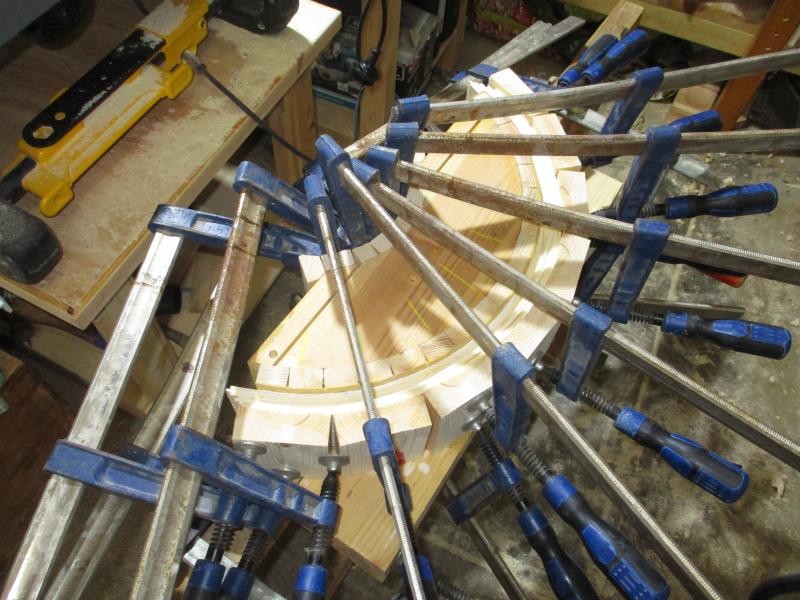
That I glued together around a very sturdy mould
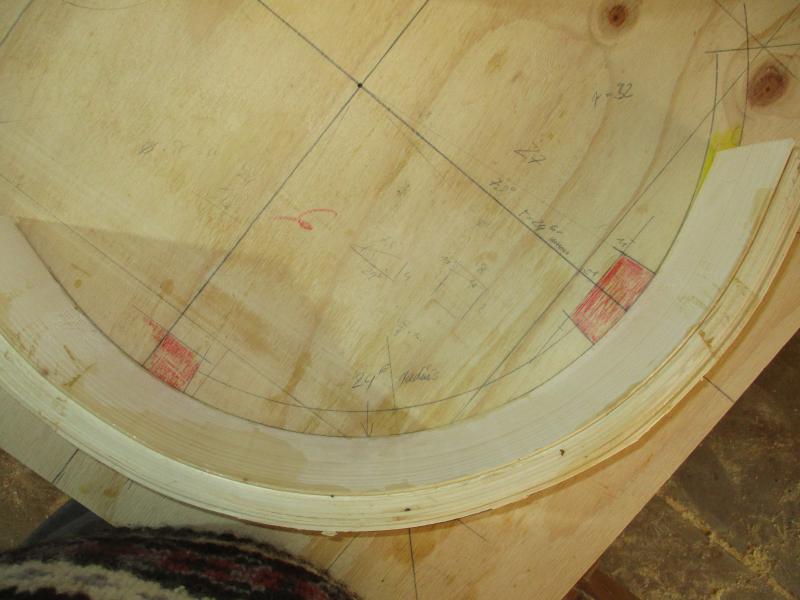
Putting it on top of the drawing to control the shape
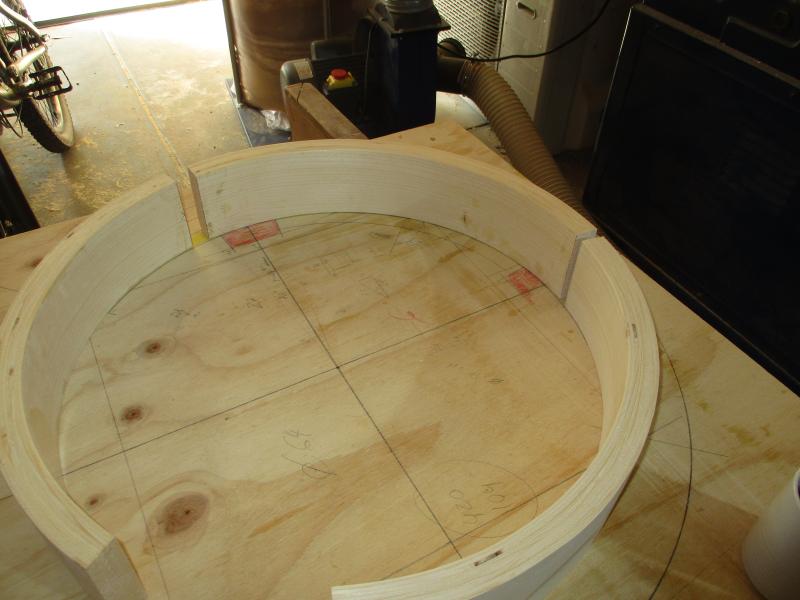
Four of them are required to close the circle
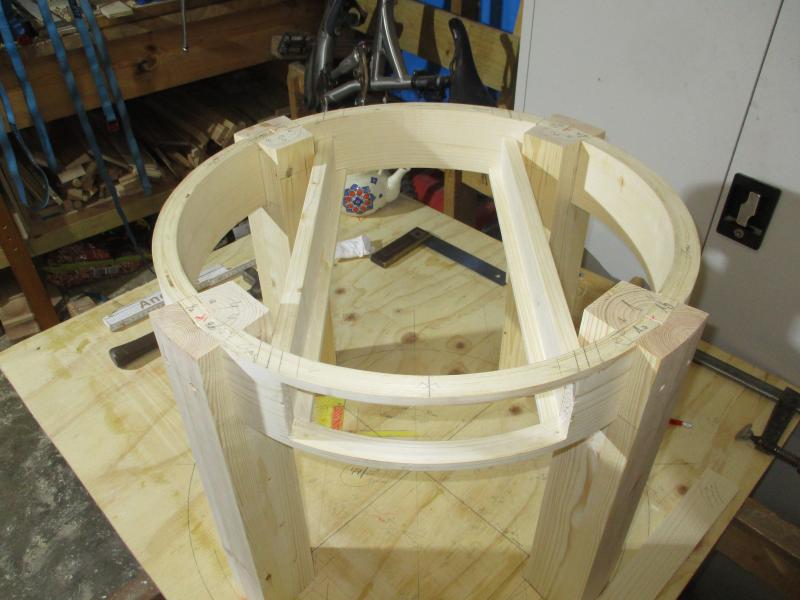
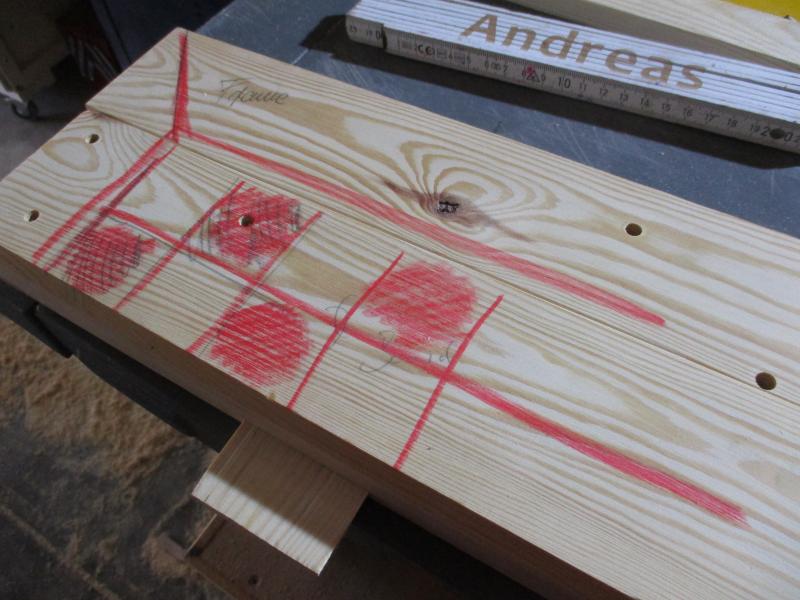
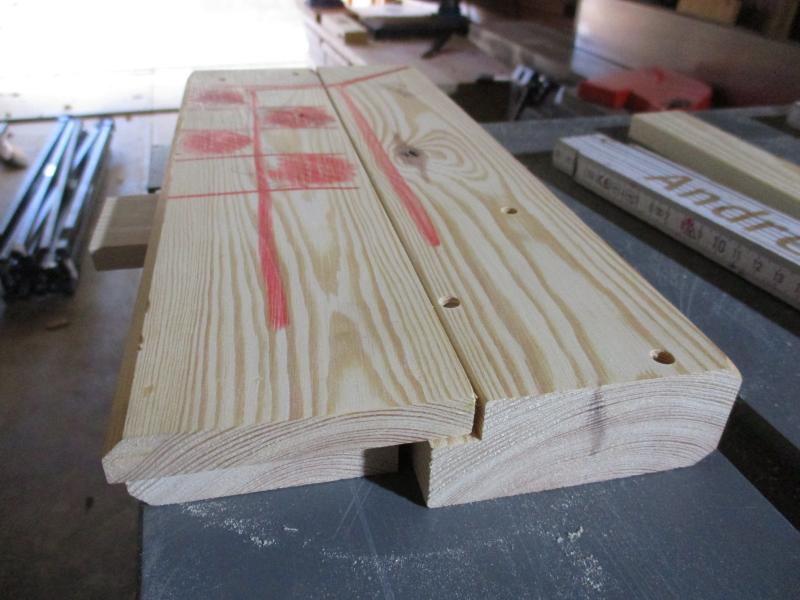
Adding the edge band using groove and tongue
Before cutting the mitre joints
Glueing the first two edge bands (the ones with groove and tongue)
Then the two remaining ones
Looks good so far
The cut-out done with a jigsaw

After four hours sanding the edge by hand - ouch
I got myself a bandsaw to do the tenons
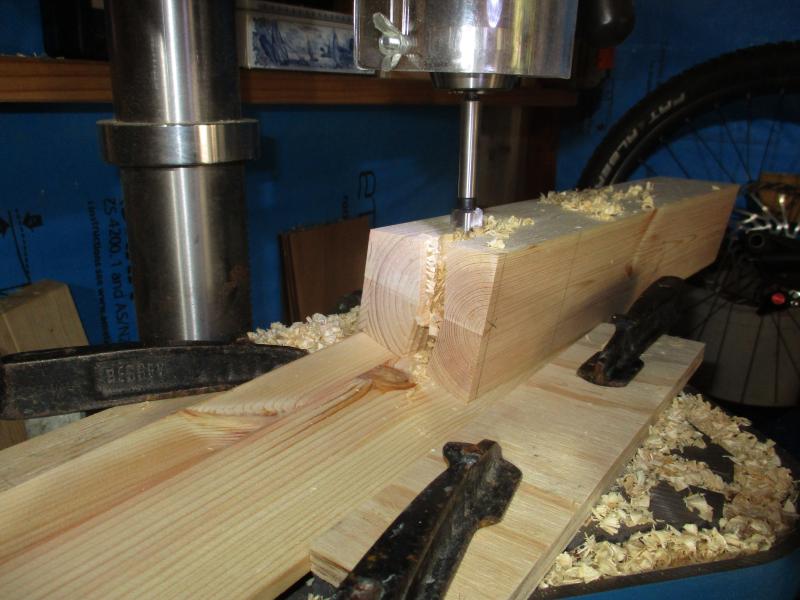
A drill press abused to do the mortice
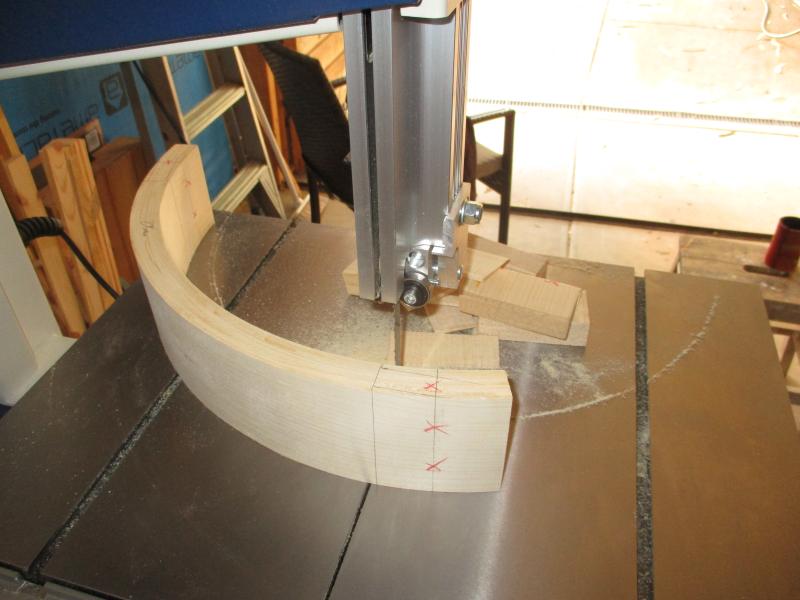
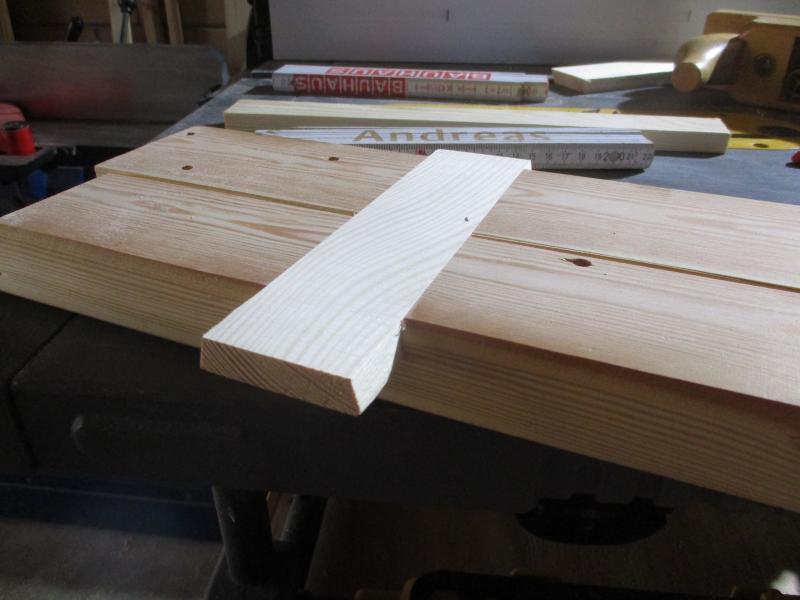
The legs shall follow the round of the table top too, so I did use a cut-off to mark the curve. Getting it done is once again a lot of work using a (manual) plain.

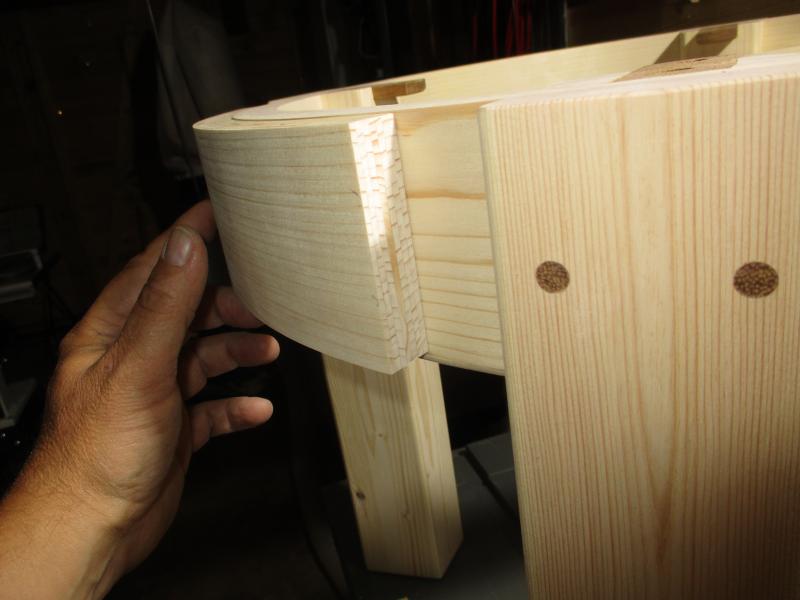
A first check if all fits together
Fitting in the rail guides for the drawer
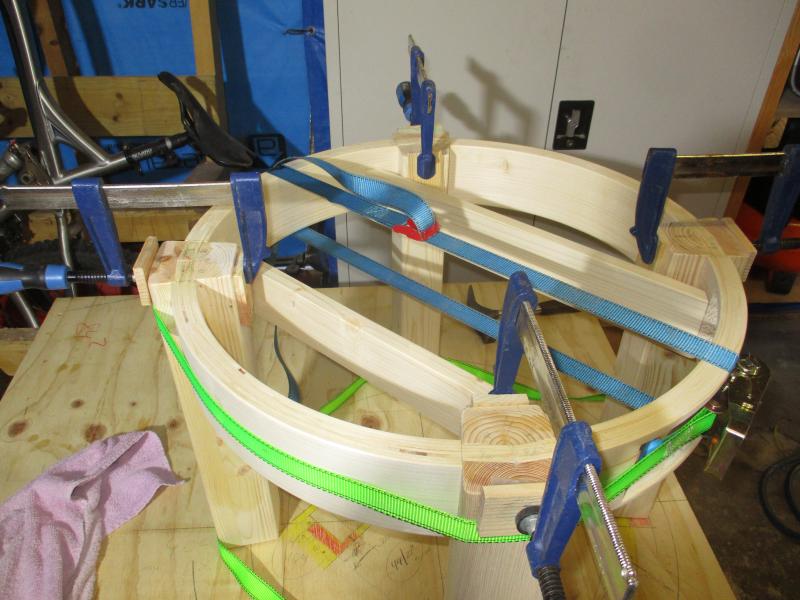
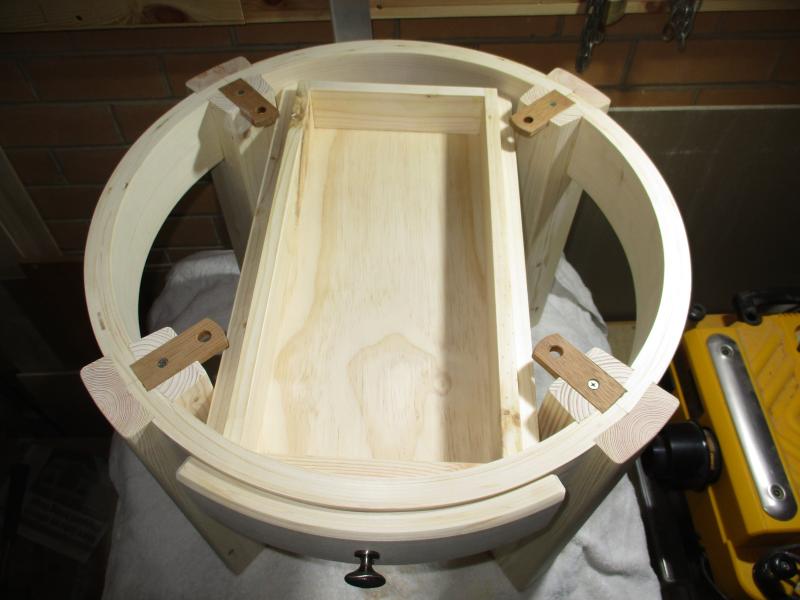
Finally, gluing it all
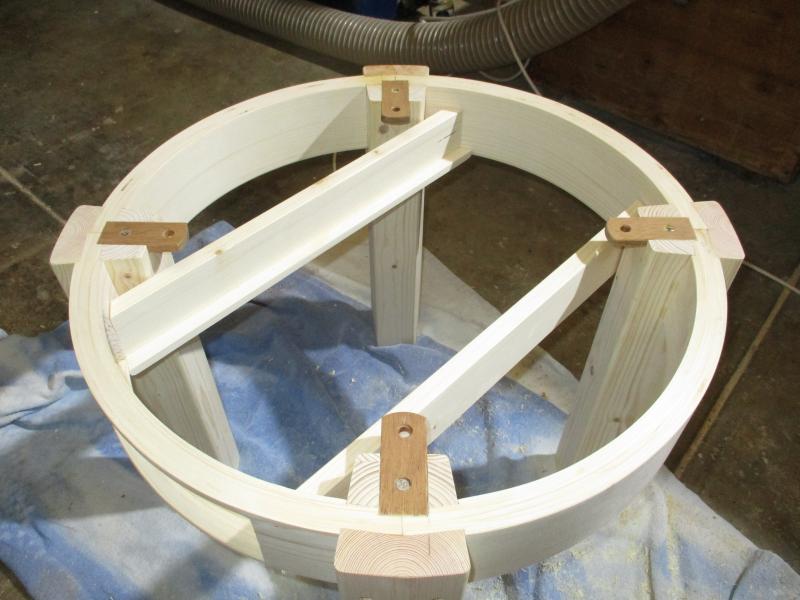
The small straps will hold the table top in place
The drawer front is also laminated from wood strips at a larger radius
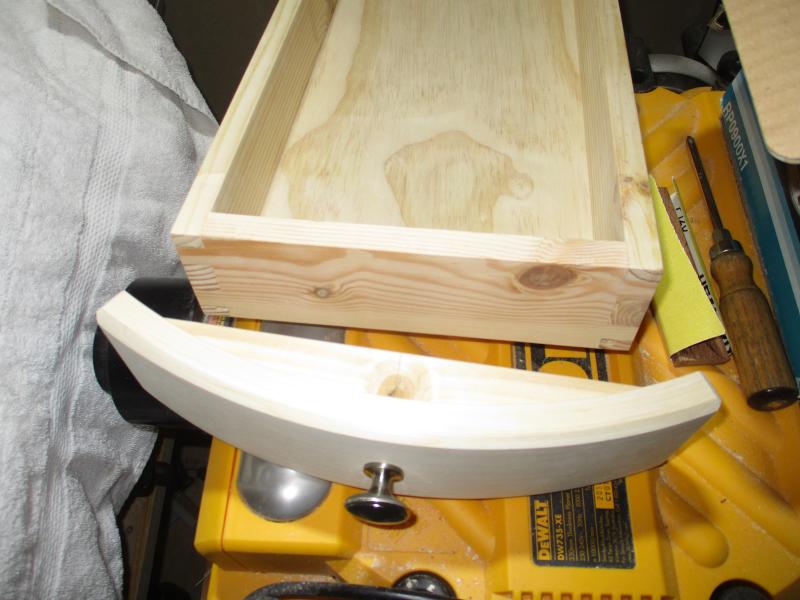
The drawer itself has a rectangular shape
Bright colours after the treatment with linseed oil
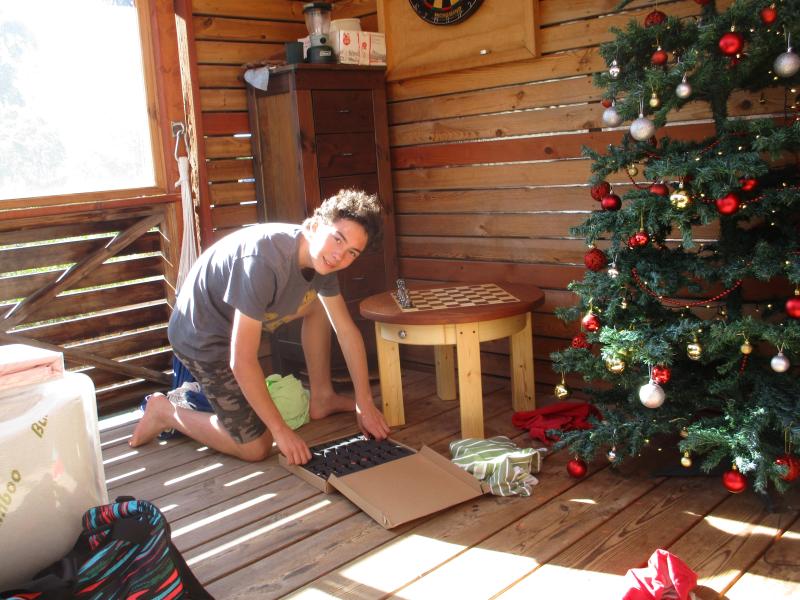
Finally Christmas 24/12/2020 - unpacking!
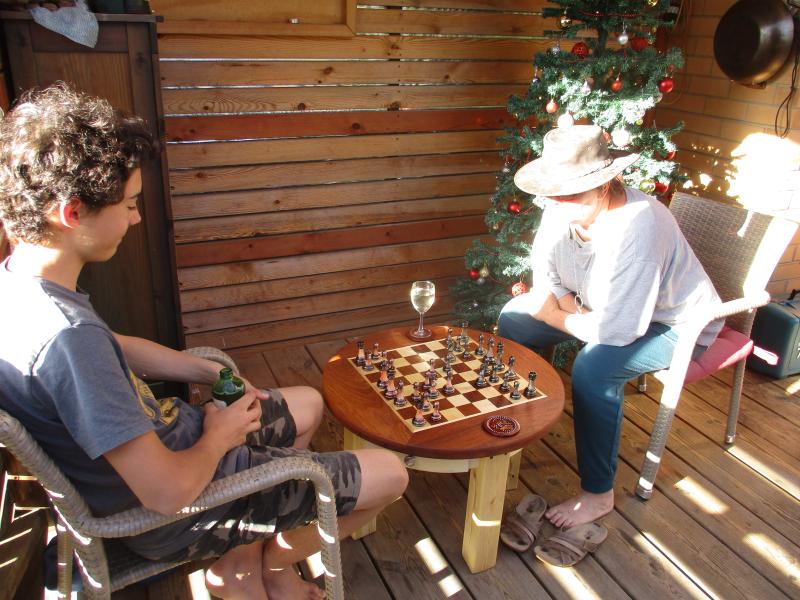
And showing mum how it's done ;o)
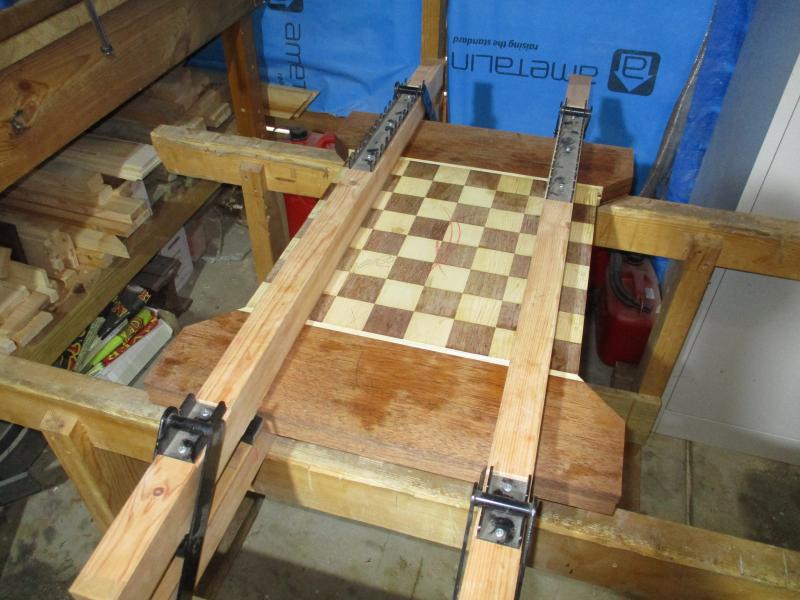
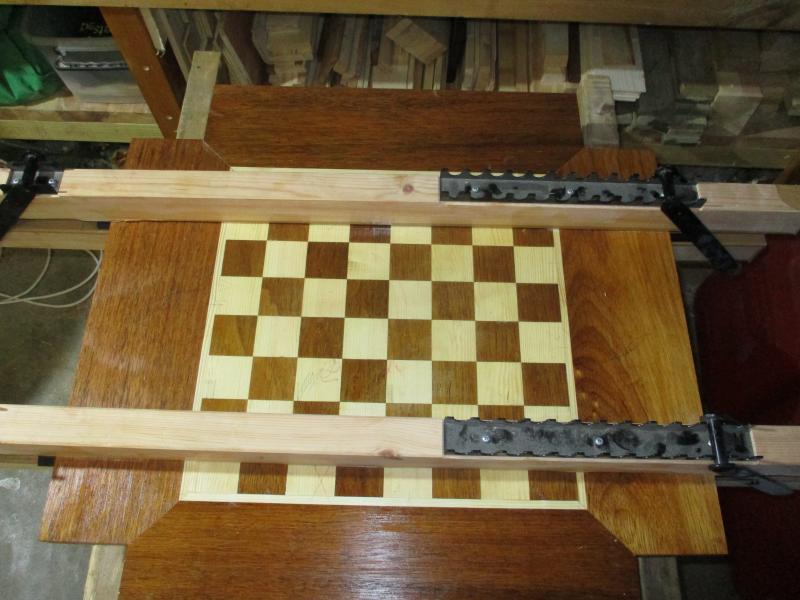
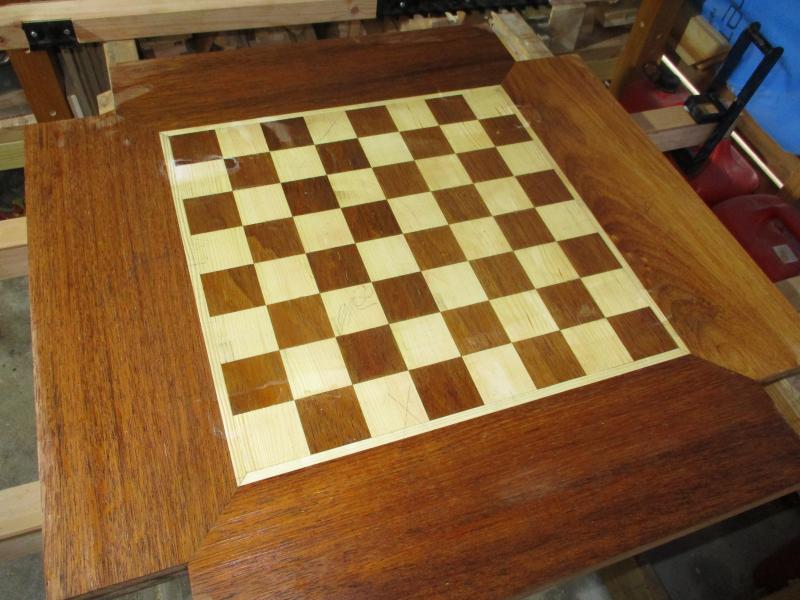
OK, looks like this didn't work as planned. All it required was one of Adelaide's heat waves and the chess board cracked. A pity. All my joints have been sturdy and stable as expected, only the wood itself couldn't withstand the forces created by it's shrinking. So, this second part is all about the new solution - the board float-mounted in the frame.
The crack right through the chess board
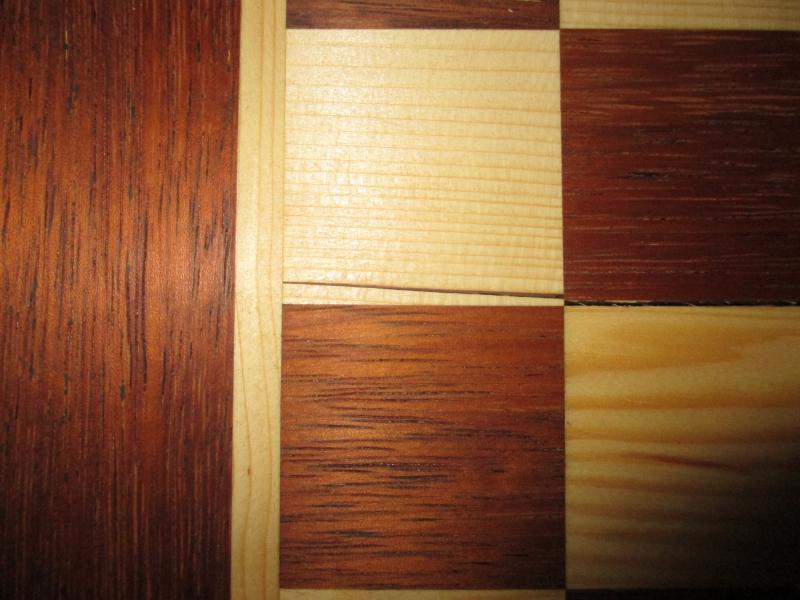
The crack at the left end is getting smaller, because the tongue and groove joint would not let it move.
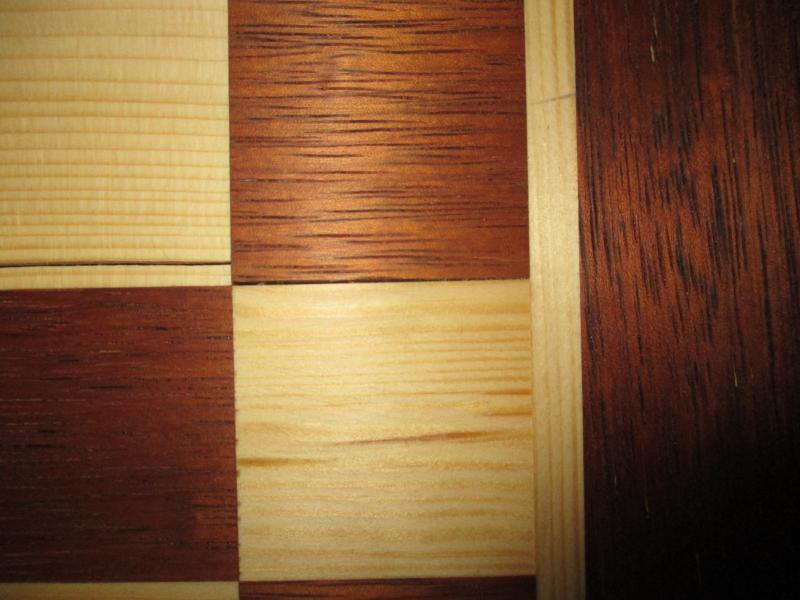
It's even more obvious at the right end.
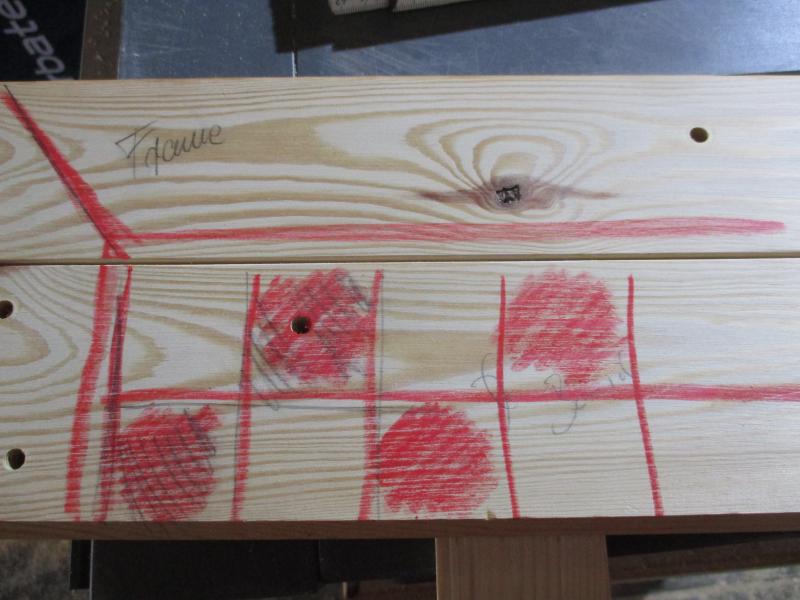
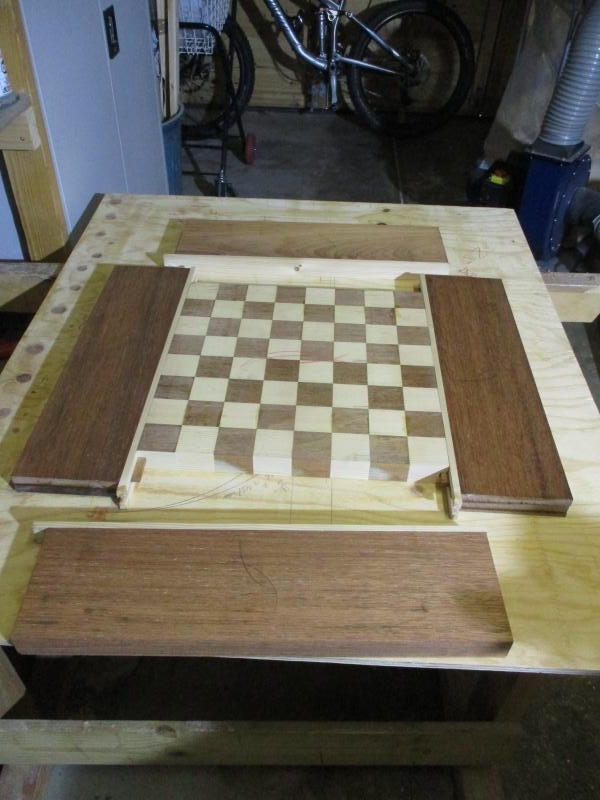
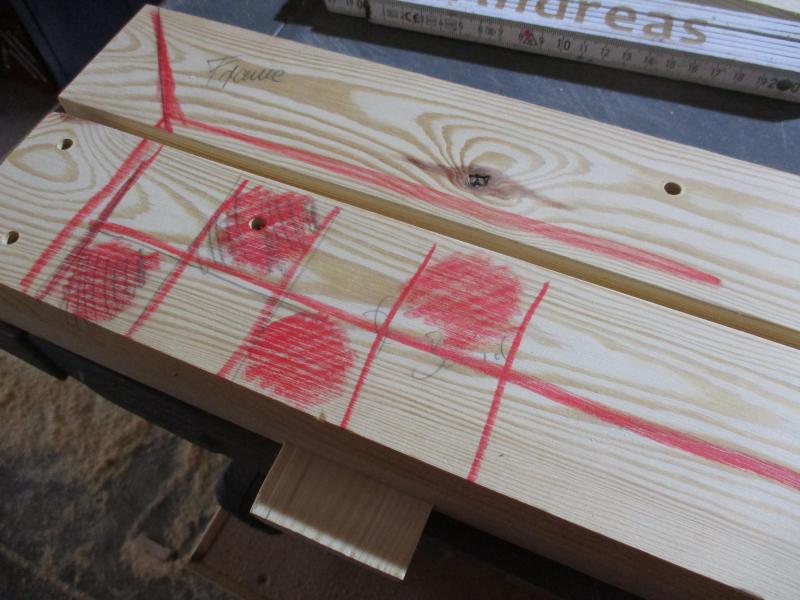
So, the idea is to let the board some room to move within the table top.
If it shrinks, the gap will be larger
If it grows the gap may even be closed altogether
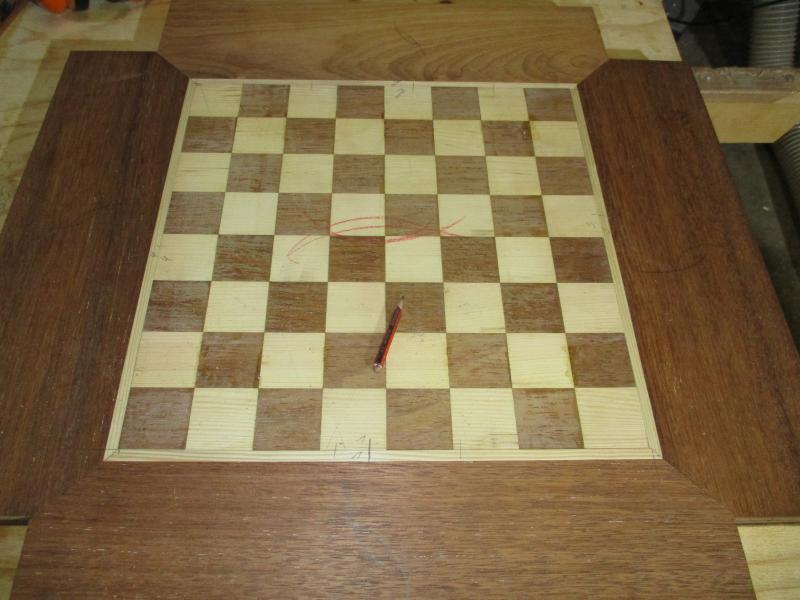
Tongue and groove will prevent the board from falling out
A dove-tailed band allows the board to move only sideways
