
We bought our home almost fifteen years ago and it was old af at that time already (I think it has been built 1974). Having to pay off the mortgage didn't particularly help with renovations, so we postponed everything expensive as much as possible. But our roof was leaking like a sieve all the time which didn't really help either. I did small fixes over the years but the roof was at the brink of collapse this year. So, we bit the bullet and did a thorough renovation during our summer vacation.
Not only did we renovate though. We also tried to improve the standard of our roof, adding roof-boarding, roof-sarking, air battens and a ventilation system to it.
Our suppliers:
ADA (flashings, etc.)
Tools (Compressor, Nail-gun, etc) from
Totaltools
Bunnings Parafield
I bought a lot of sheet-lead for the flashing and was wondering if there is something easier to work with. And there is, I just didn't know at the time:
Wakaflex could be worth a try.

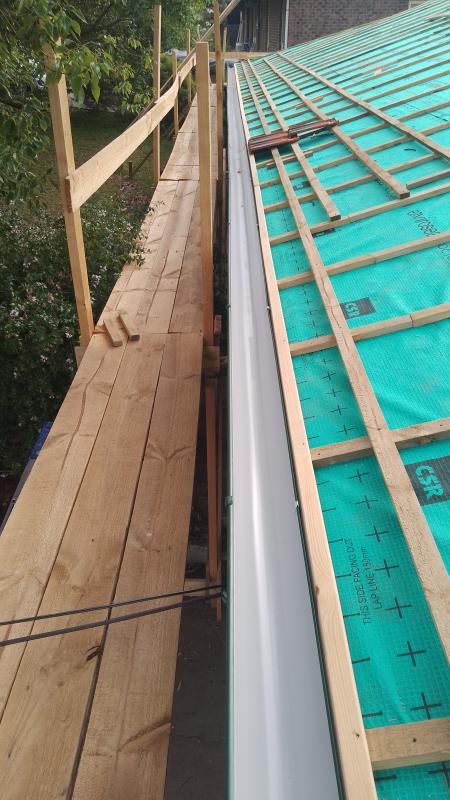
We considered a scaffolding company first for our scaffold. It would have been about five grand for our home.
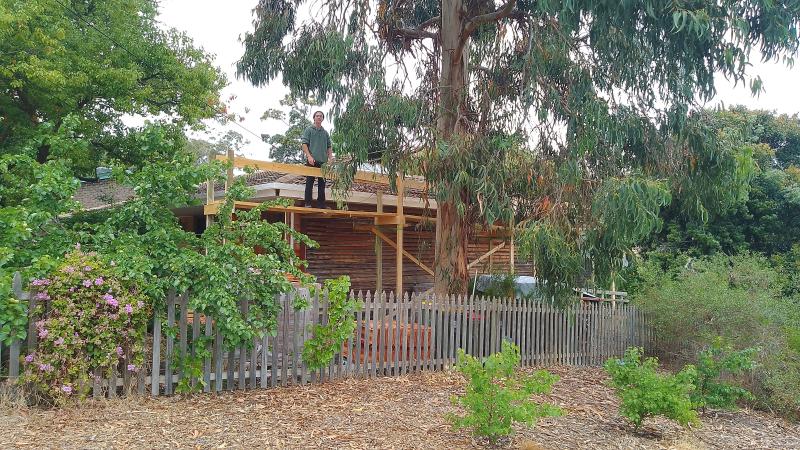
So, we thought fuck it, we buy a pack of sleepers and do it old style.
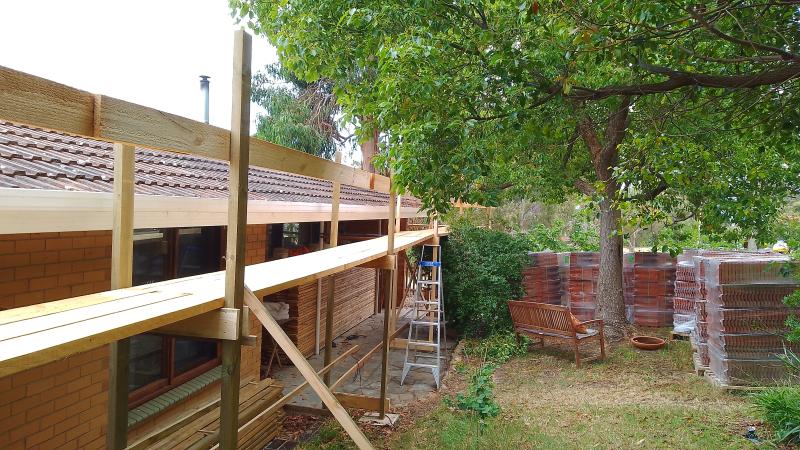
This does the job just the same, costs only two grand and I've got heaps of timber for my next project. Loss: zero
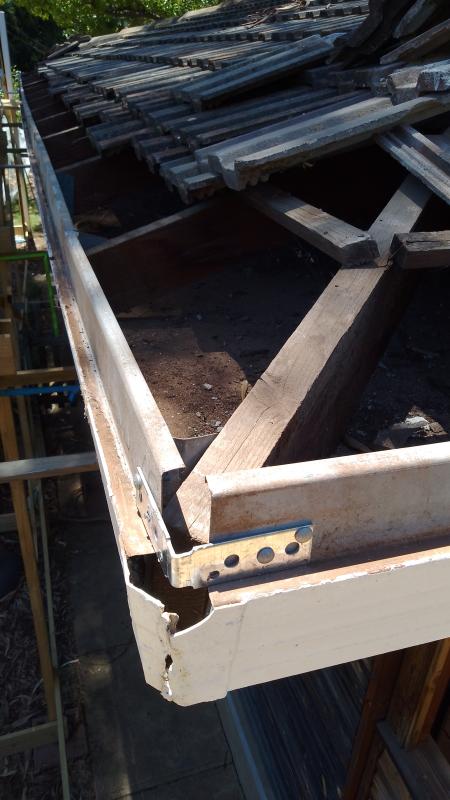
This shows the fascia with the old gutters already removed. It's
crooked and cracked at the corners. So I fixed this first.
crooked and cracked at the corners. So I fixed this first.
We uncovered the hip-sides first to fix the collapsing trusses at the ends. The right one is broken and sacked 6cm, the left one is just bent a little.
The fascia exceeds the truss a little at the top, so I added wedges to get the roof-boarding at that level.
I used painted boards to fill the gap left from the old (rectangular shaped) gutters.
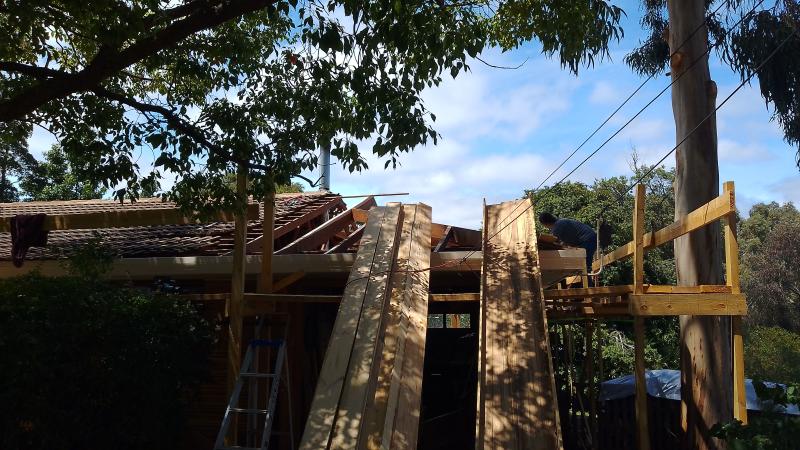
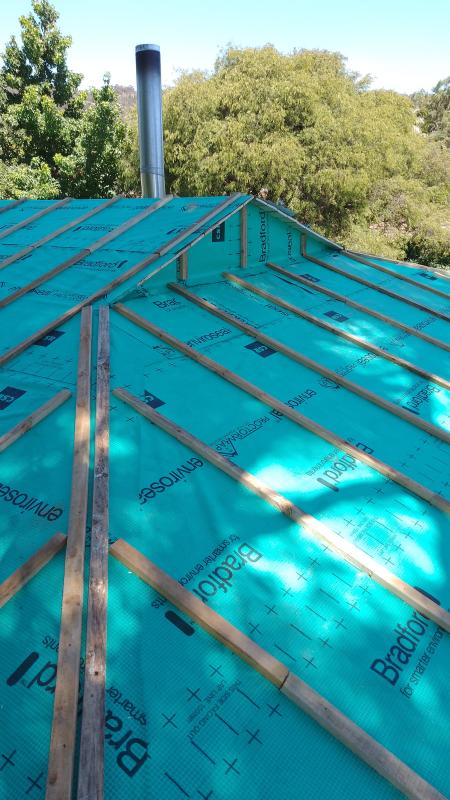
After fixing the biggest issues, we uncovered the rest of the roof.
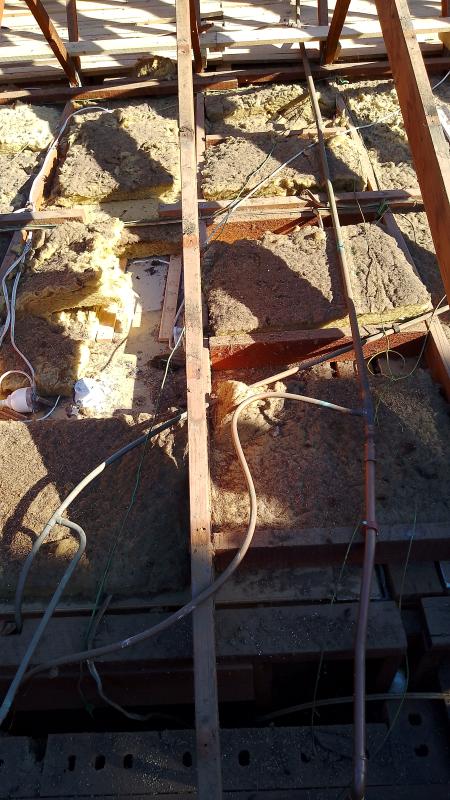
Uncovering some really wild installation details, like
gas pipes criss-crossing the attic above and below
the truss. It requires an A-grade gas fitter to get
quality work like this...
gas pipes criss-crossing the attic above and below
the truss. It requires an A-grade gas fitter to get
quality work like this...
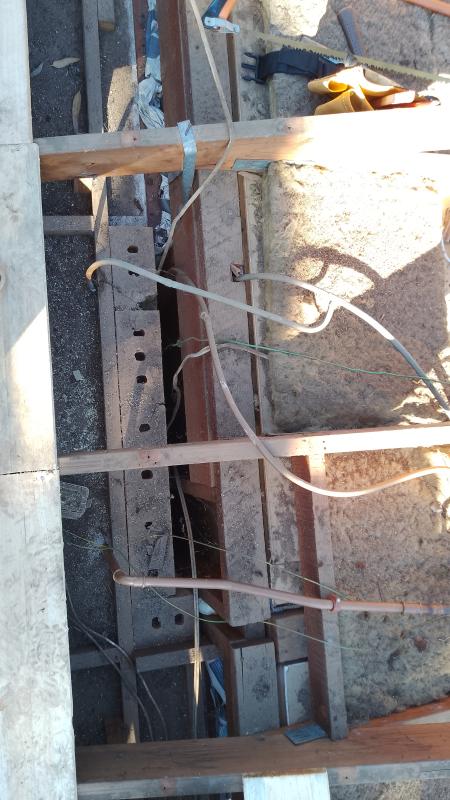
Water pipes and...
...electrical installations are of similar quality!
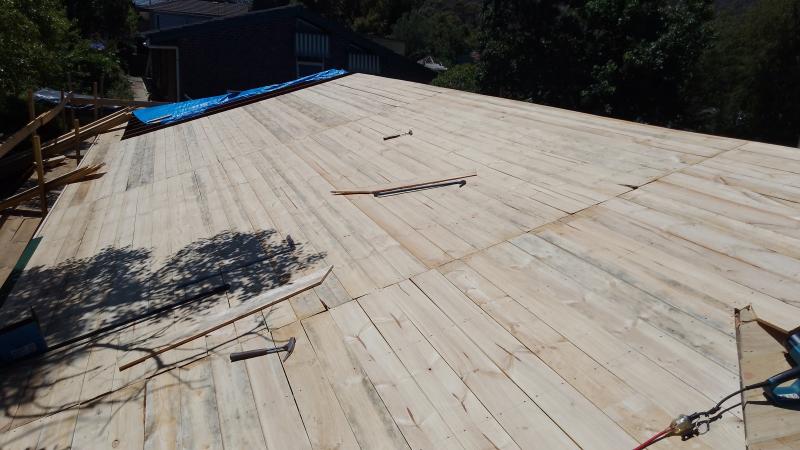
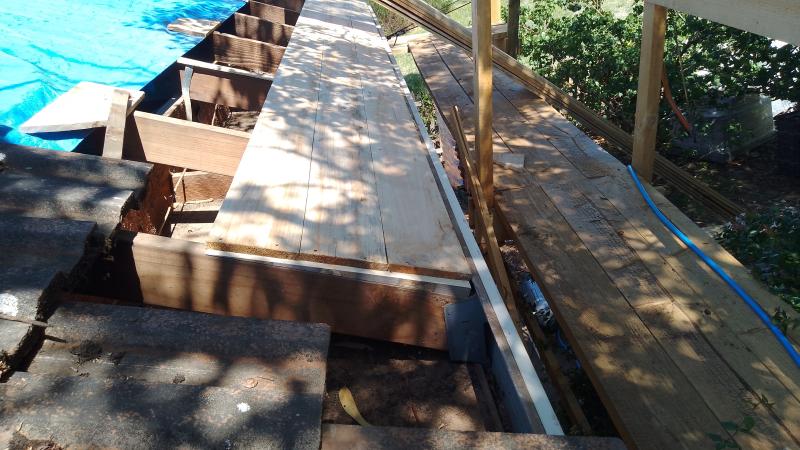
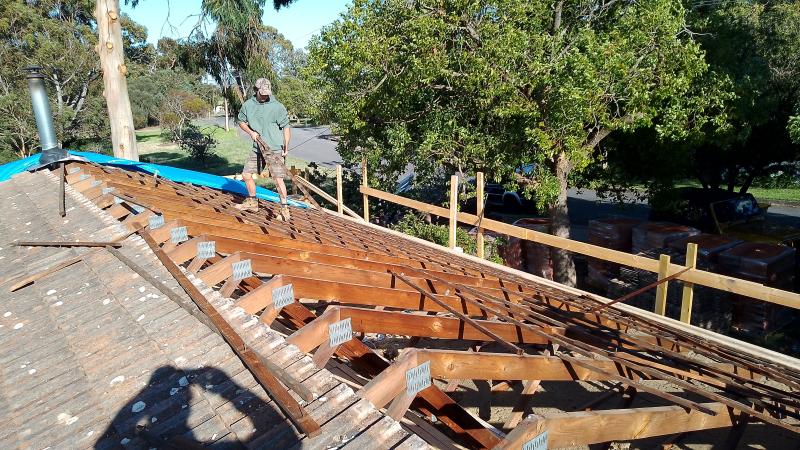
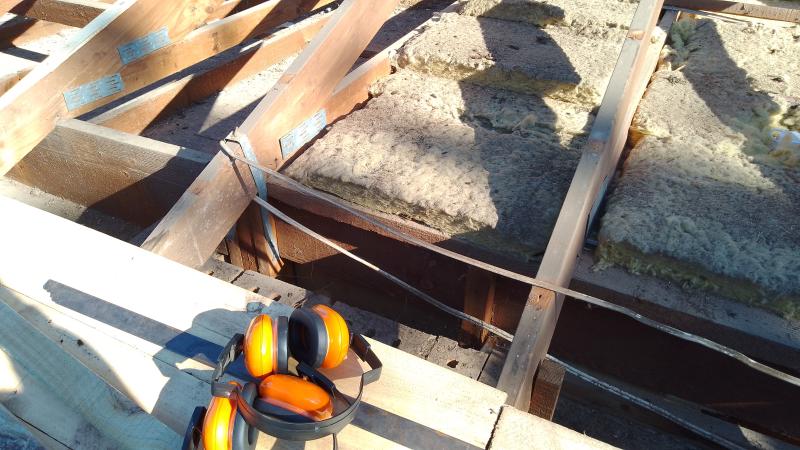
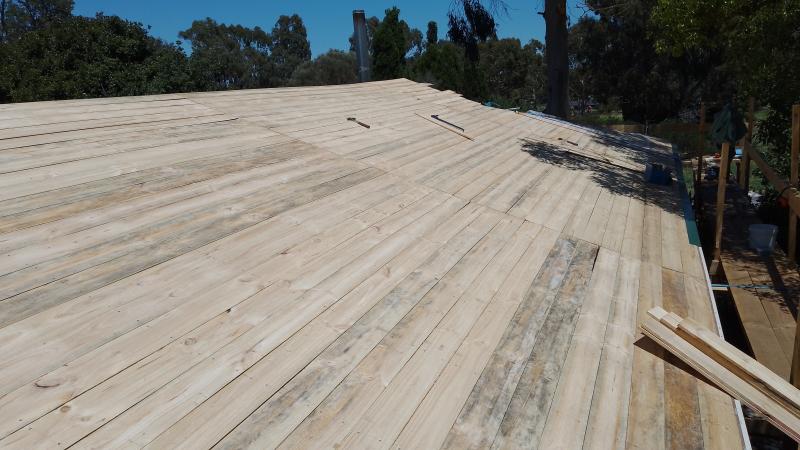
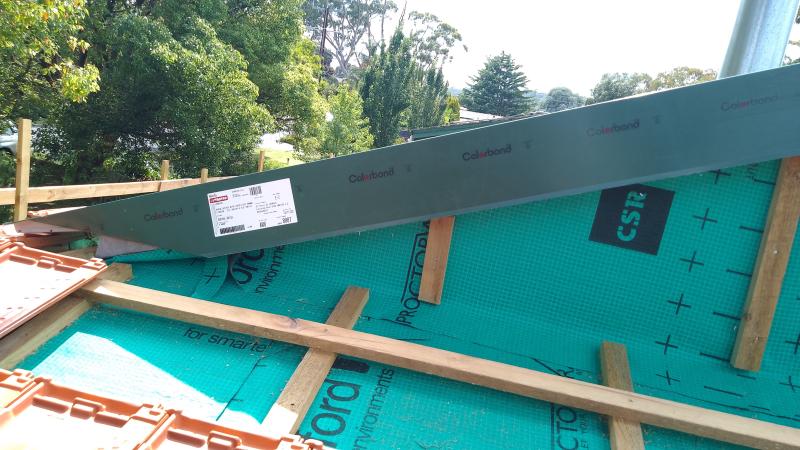
Anyway, we added the roof-boarding (17x150mm rough sawn pine)
I added a flashing at the eaves to protect the
roof-membrane from rotting at the end.
roof-membrane from rotting at the end.
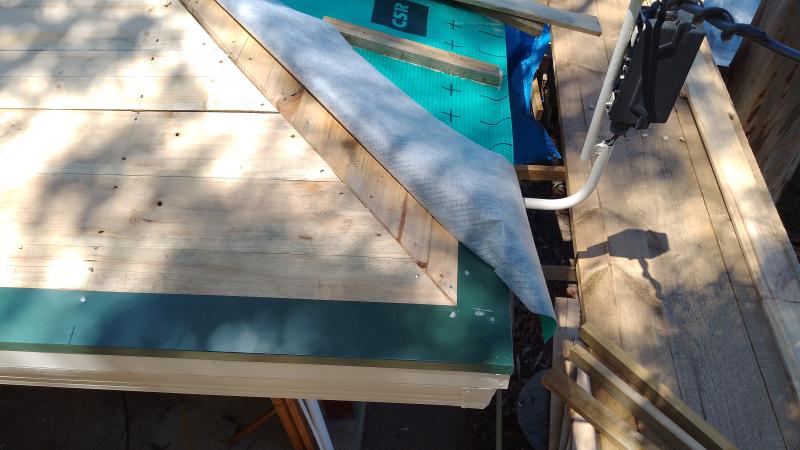
The diffusion-open membrane sits on top of the boards, fixed with air-battens

Air flows in that layer from the eaves to the ridge,
thereby ventilating the area between roof-boarding
and the tiles.
thereby ventilating the area between roof-boarding
and the tiles.
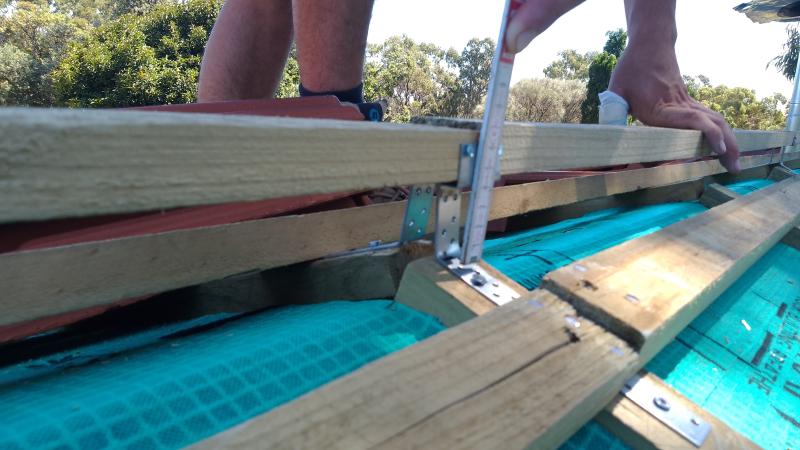
The first batten got a vertical cut and is 35mm thick.
This allows to install the gutter brackets (in Australia
these are fixed to the vertical fascia) and to lift the
first tile a little.
This allows to install the gutter brackets (in Australia
these are fixed to the vertical fascia) and to lift the
first tile a little.
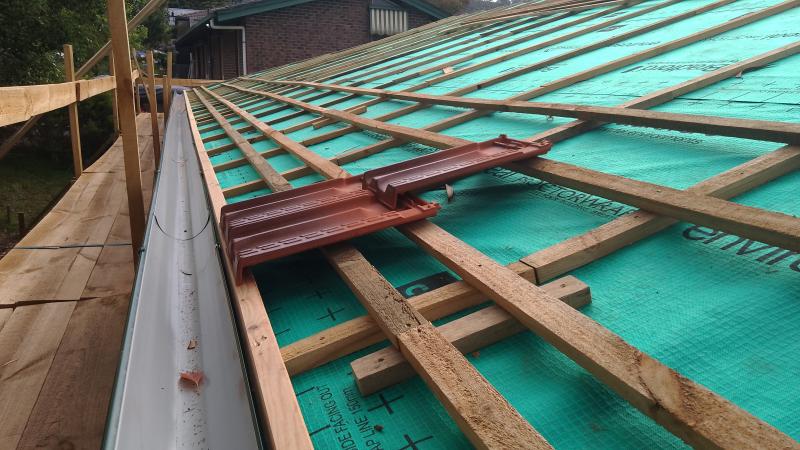
There would be two battens if it were a German roof, but I added the wedges (see above). So, one batten a
little thicker did the job.
little thicker did the job.
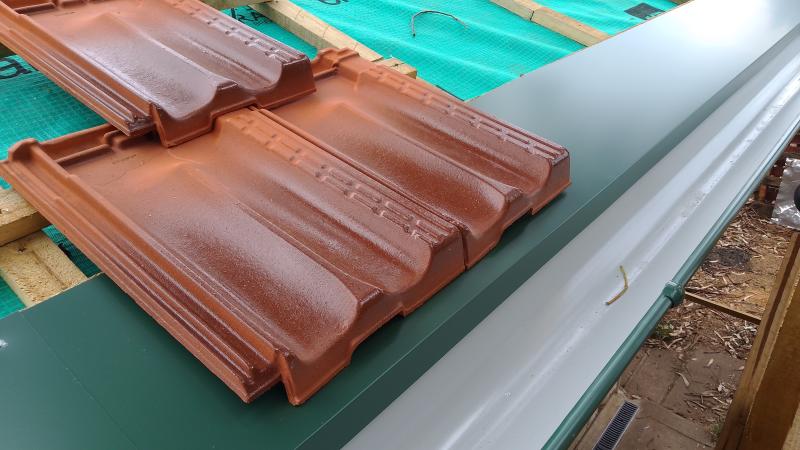
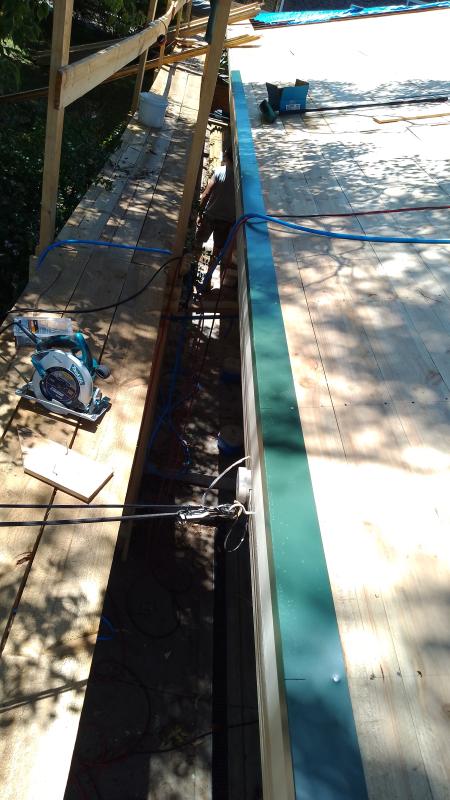
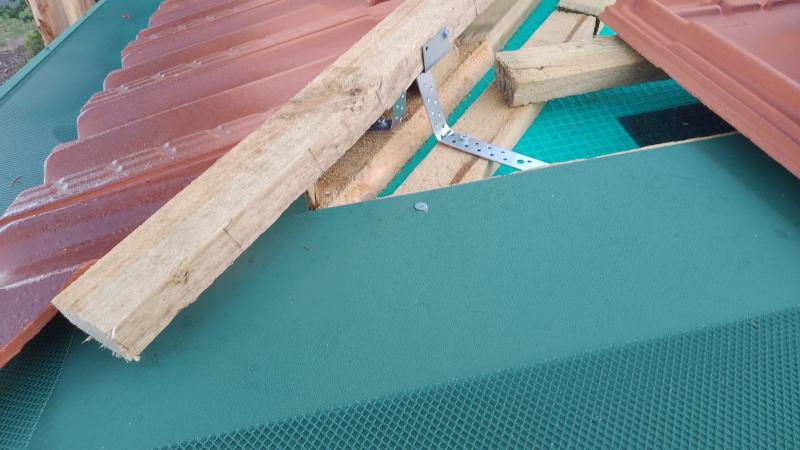
On top of the eaves battens sits another flashing, making sure water does not drip onto the sarking from
between the tiles of the first row but goes right into the gutter.
between the tiles of the first row but goes right into the gutter.
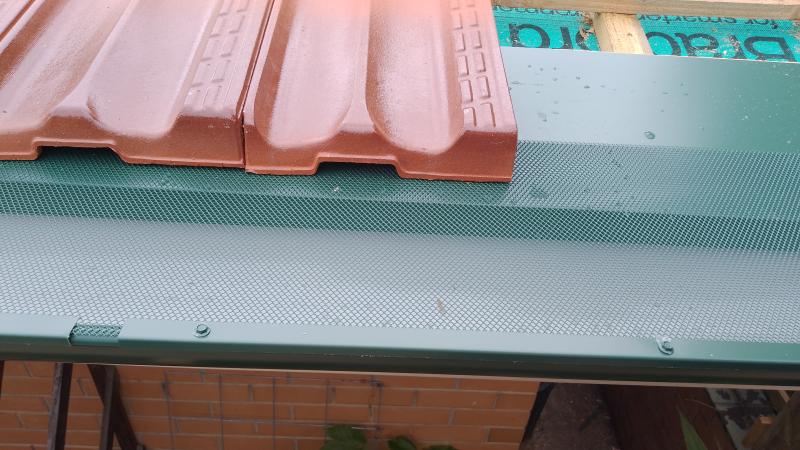
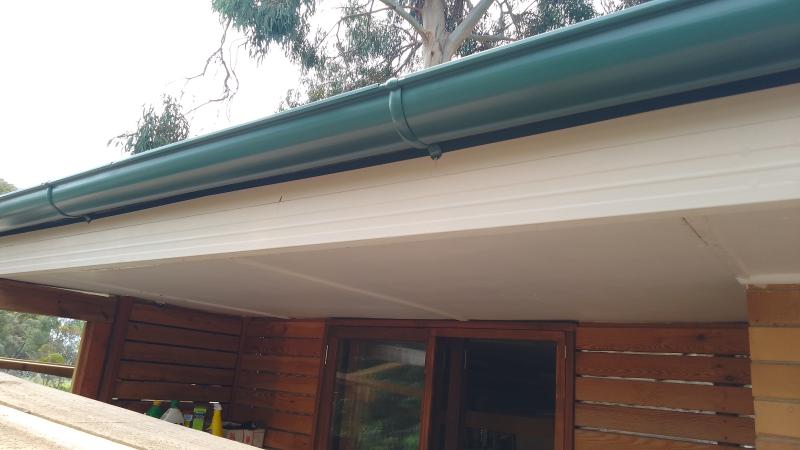
I also added a gutter guard. We have a gum-tree next to the house that drops plenty of nuts all year round.
Lets see if it helps to keep the gutters clean.
Lets see if it helps to keep the gutters clean.
The 25mm gap between gutter and fascia is the lower ventilation opening.
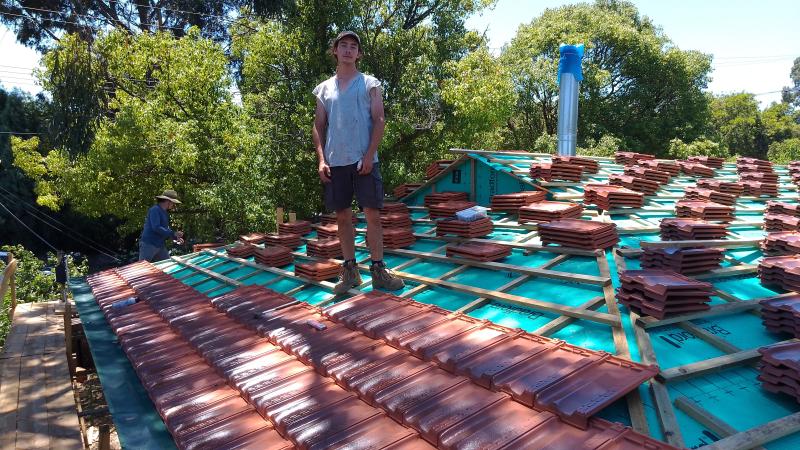
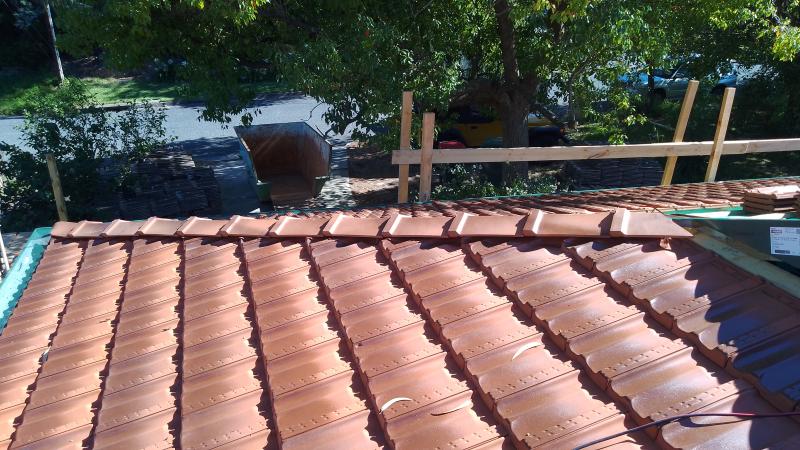
After all the gutter work, we are ready to spread out the tiles.
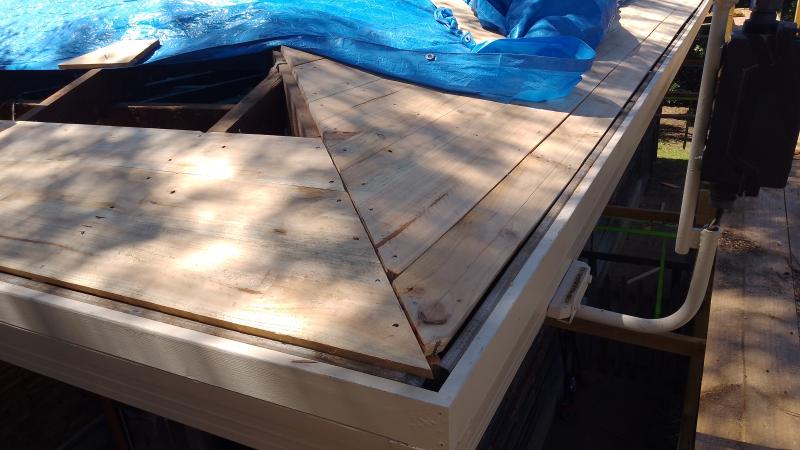
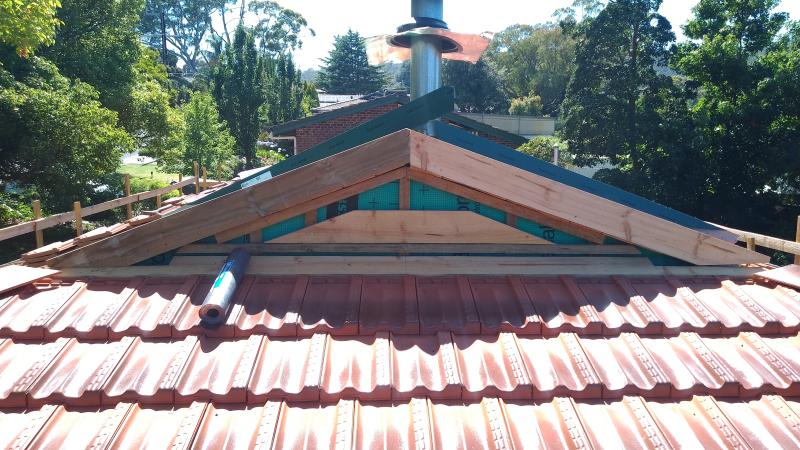
We've got a Dutch-Gable roof. The worst form of all roof shapes if you ask me. Very hard to get covered properly.
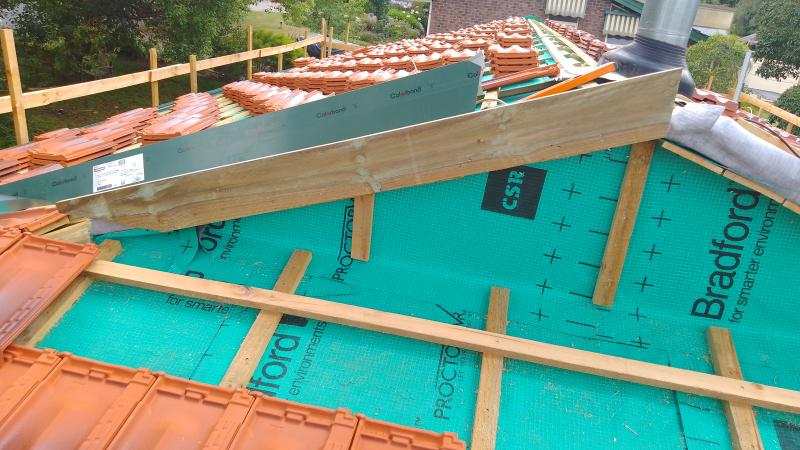
A "Windfangbrett" covers the end of the gable, protecting tiles from blown away (hopefully).
Timber tends to rot when exposed to the elements. I got a
custom flashing produced to cover it completely.
custom flashing produced to cover it completely.
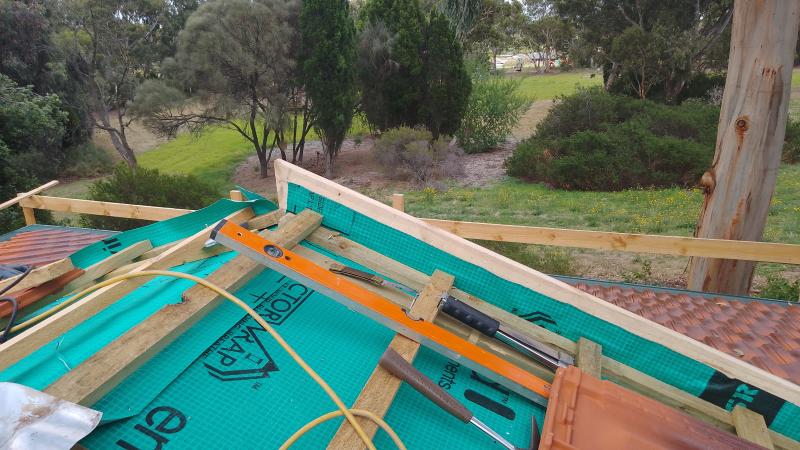
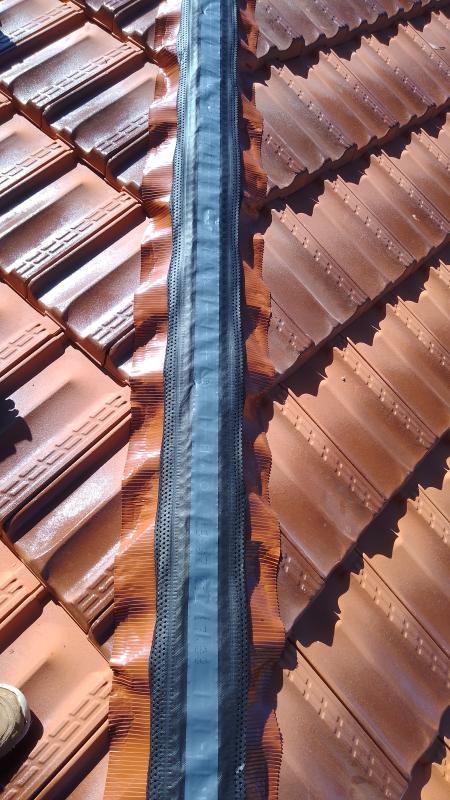
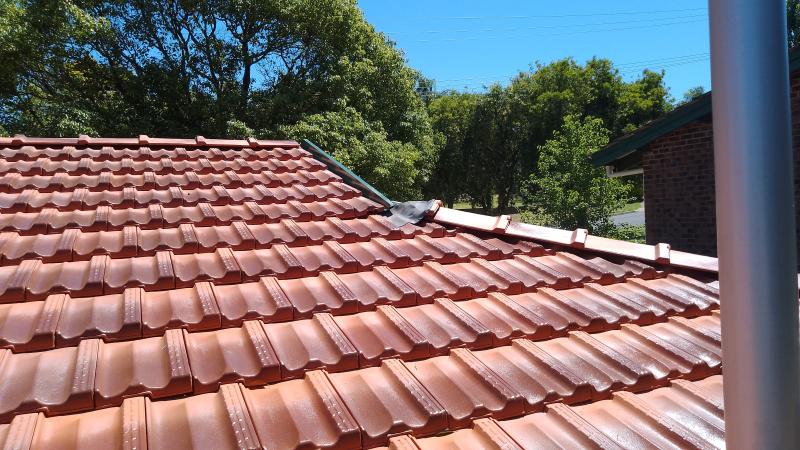
The ridge caps are bolted onto a ridge-batten. The brackets are part of the Rapid Ridge system.
It is the same on the hip-ridges.
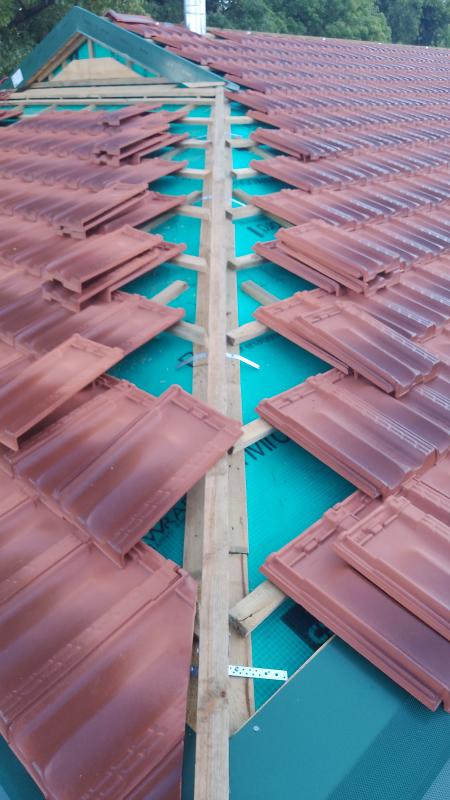
Tiles will be cut to that batten, using a 4cm gap between them.
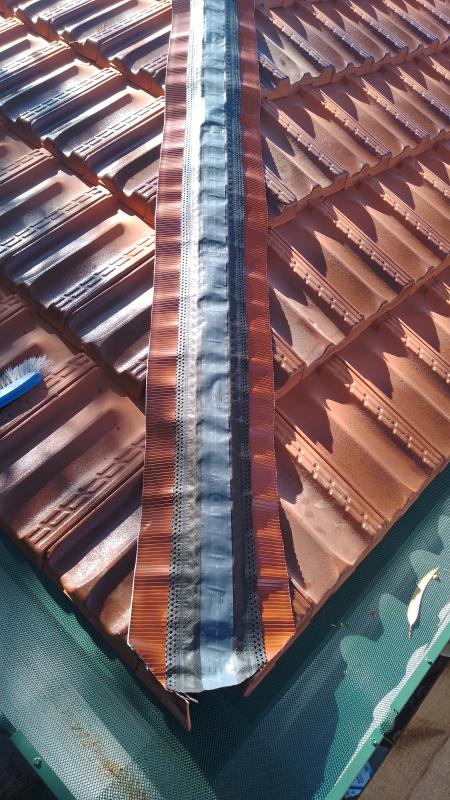
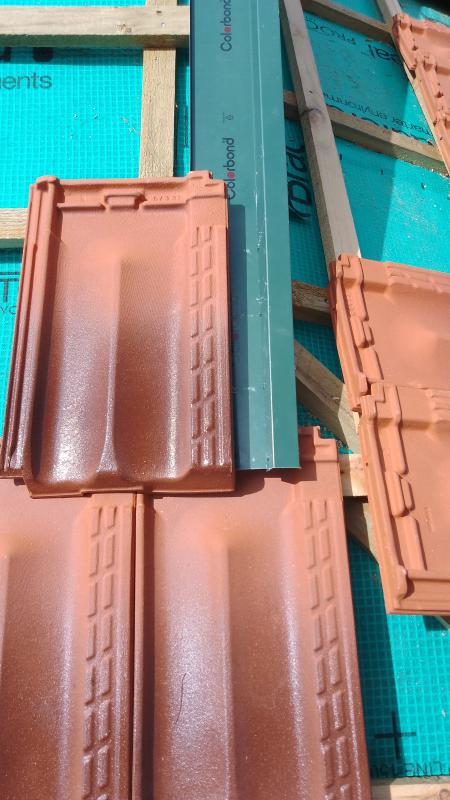
Finally covered with the Figaroll strip.
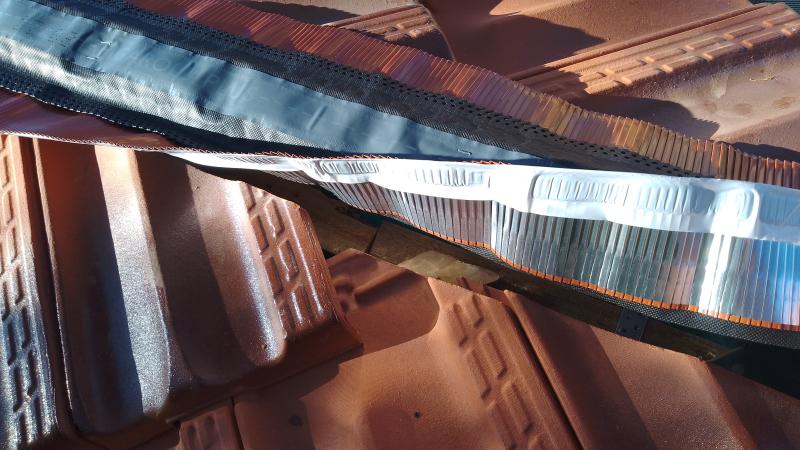
The strip (some sort of folded aluminium) expands up to 50% and gets glued to the tiles.
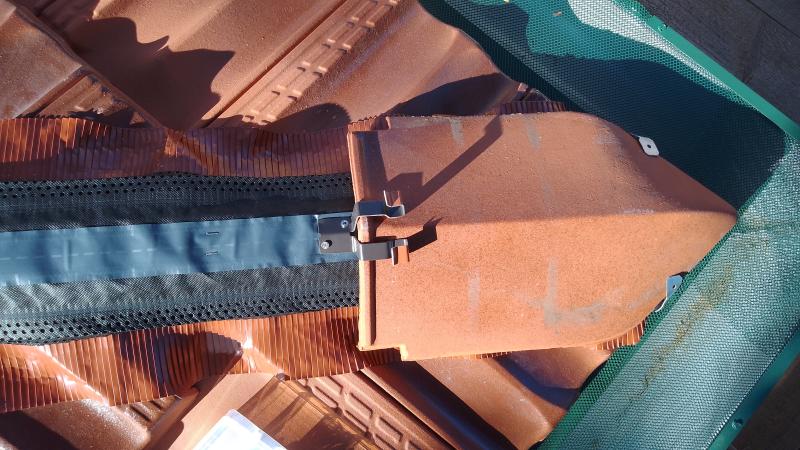
The ridge caps are fixed using the brackets.
I used 450mm wide sheet-lead to cover the edge to the gable. It also goes over the lower part of the
"Windfangbrett" right over the tiles of the row below.
"Windfangbrett" right over the tiles of the row below.
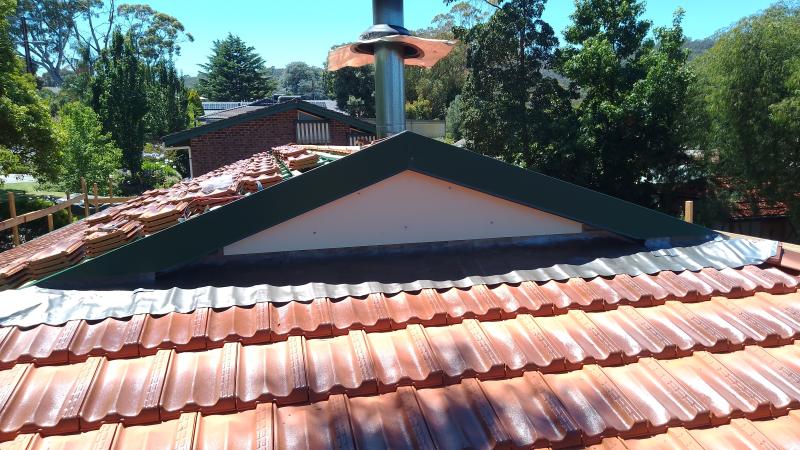
The custom-made flashings sit on top of the sheet-lead and lower tiles.
The upper rows of the tiles sit on top of the flashing.

Looks good. No mortar that needs maintenance :o)
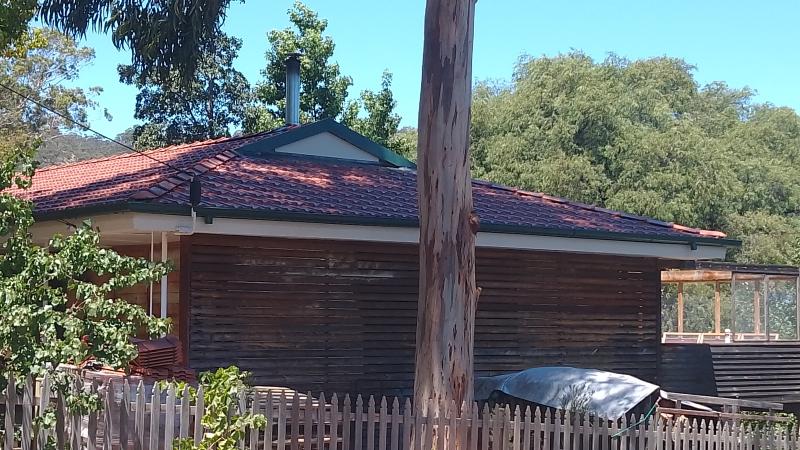
Only the down-pipes to add. But first: some beer!
